
You’ve likely heard this shouted from fellow business owners everywhere: Pinterest drives more traffic to my website than any other social media platform!
Well, it happens to be true for me. I see growth in my email list daily, and I get consistent sales for my ebook, pretty much all thanks to Pinterest. But, of course, it wasn’t always that way. It wasn’t until I studied the ins and outs of Pinterest strategy -- and made some strategic moves -- that my website traffic, email list, and sales increased.
Today, I’m going to share one (very important) secret to getting loads of traffic to your site from Pinterest: How to create the perfect Pin.
It probably goes without saying, but Pinterest relies on visuals, so it’s extremely important that the Pins you upload look attractive and, well...pinnable.
Here are a few tips on creating beautiful, attention-grabbing Pins for your blog:
1. Get clear on your brand
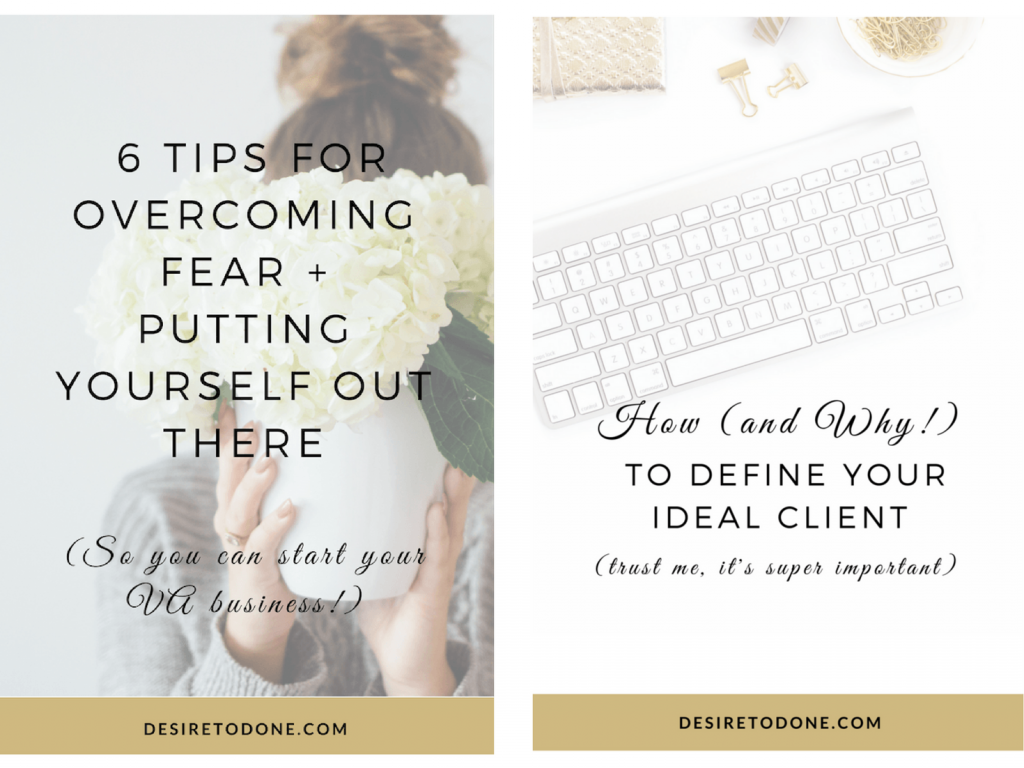
First and foremost, get clear on your brand’s colors, fonts, and tone or “mood.” It’s extremely important that your Pins be consistent and look on-brand.
Example: If your brand is punk rock, then something light and airy with pastel colors wouldn’t be on-brand, but something edgy and bold with bright colors would be. Colors and fonts are a great way to express your brand so be sure to choose wisely!
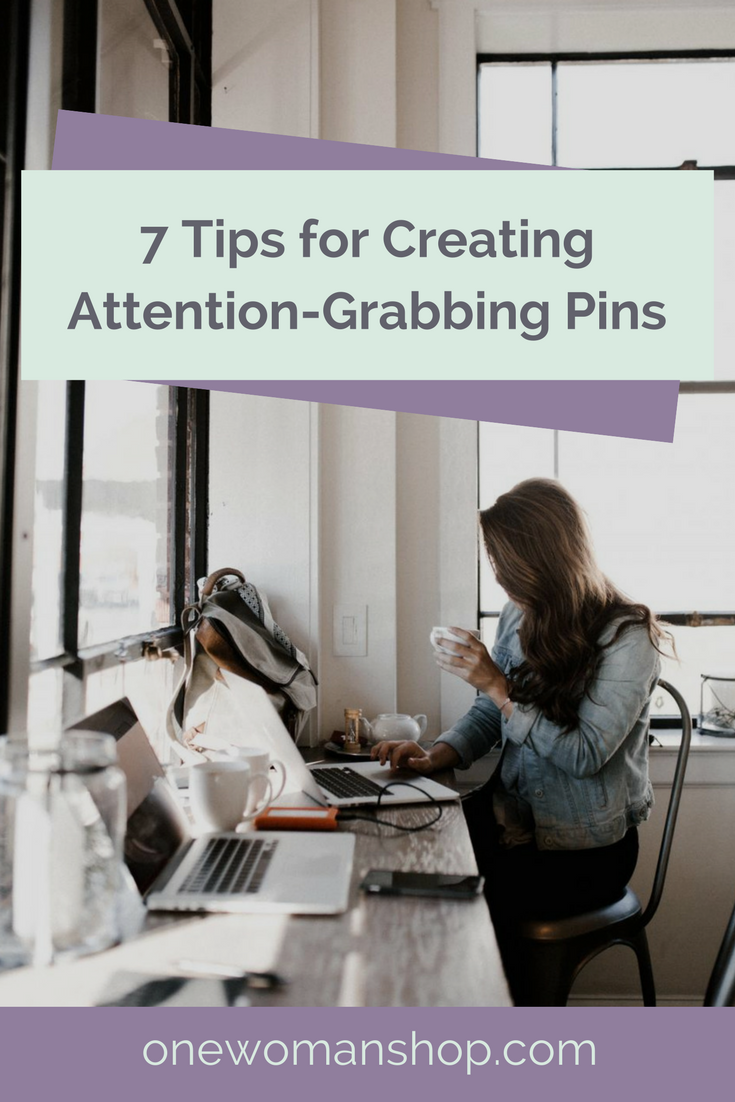
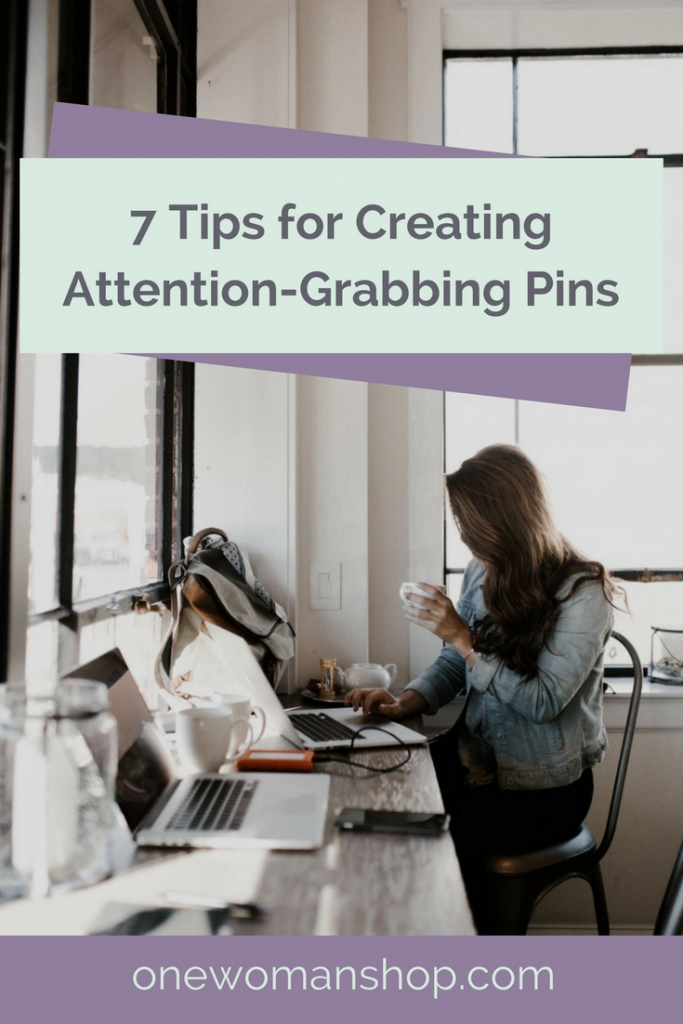
Below are two Pins that are different, yet similar. The trick is to use the same colors and fonts, and use photos that have a similar mood.
2. Create a template (or two)
The easiest way to maintain consistency (see above) is by creating templates for your Pins. That way, you can simply plug in different titles and images while keeping the overall look the same. (Bonus: This also saves you time!)
I shudder thinking about the awful blog graphics I had on my first website. They were all over the place, with no consistency in font, color, or size. Now I create all my Pins using Canva, a free online graphic design tool. You can create your own templates in Canva or use the templates that Canva provides that already have the ideal size and proportions for an attractive pin.
3. Stick to vertical pins only (No landscape, please!)
Vertical images (tall, not horizontal or square -- see One Woman Shop’s example below!) tend to get more clicks and repins. One main reason is because they’re easier to see. Most Pinterest users are on their mobile devices, so it’s important to make your Pins easy on the eyes.
Images that use the ratio of 2:3 or 4:5 are best. I make my Pins 600px by 900px and it works perfectly. When I upload the Pin to my blog it doesn’t look overly huge, yet it looks clear when viewed on Pinterest.
Again, Canva’s Pinterest templates already have the perfect ratio so there’s no stress about getting the correct ratio. #loveyoucanva
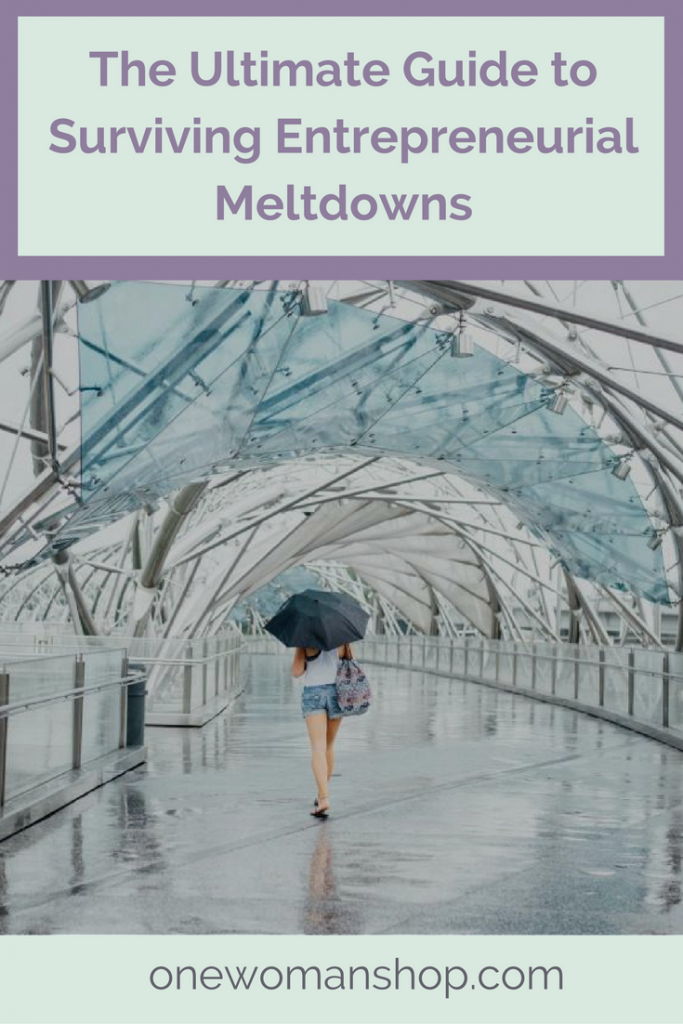
4. Make it easy to read
This tip is short, but not always easy: Make sure you use an easy-to-read text overlay. Remember, most people are on their tiny phones looking at these pins. If pins are difficult to read, it’s unlikely they’ll inspire people to click or repin.
5. Choose eye-catching photos
Beautiful images are key. If you’re using your own images, make sure they look professional (even if they’re shot from your iPhone). You want to avoid anything dark, out of focus, or messy-looking.
If you’re using stock photos, be sure to steer clear of anything cheesy. (You know what I mean. We’ve all seen those goofy photos with fake smiles and garish colors. Leave the cheesiness for the infomercials!) You want something on-brand and inspiring that your ideal client will love.
Some of my favorite stock photo sites are Haute Chocolate, SC Stockshop, and Bloguettes. They’re not free, but their photos are worth it. Instead of wading through pages and pages of questionable stock photography to find one beautiful, on-brand photo, you’ll have lots of gorgeous photos to choose from.
Remember to always keep your target audience in mind and choose photos that both showcase your brand and appeal to your peeps.
6. Get strategic with your blog titles
Creating a snappy title is just as important as creating consistent-looking Pins.
Your title needs to be specific and communicate exactly what your audience is going to get out of the article. You want to stir up an emotion in them and make them curious enough to click through to read your article or repin it to their board to read later.
For example, if you’re a health coach creating a Pin about what you eat in a day, the title “What I Ate Today” isn’t going to get many click throughs or repins. It’s too general.
Instead, try a title like “What a Health Coach Eats.” That’s much more intriguing, because your reader probably assumes that a health coach is more knowledgeable on healthy eats than the general public.
For extra credit, include a tantalizing subtitle. For our health coach example, you can try “What a Health Coach Eats (It Might Not Be What You Think!)” That title suggests that perhaps the health coach doesn’t eat healthy all the time, piquing your curiosity even more as to what exactly they eat. Makes you want to click through and see for yourself, doesn’t it?
Still need help finding a catchy title? Here’s a great article to get you started.
7. Add keyword-rich Pin descriptions
The Pin description is the text that shows up under the Pin.
Your description should include keywords and phrases relevant to your blog post and brand to help people find your Pin when searching Pinterest. Explain the purpose of the article without giving too much away and perhaps even invite the pinner to click through to read more.
For instance, if someone was looking for a yellow chair on Pinterest, they would search “yellow chair.” If your pin is a picture of a yellow chair but doesn’t have the words “yellow chair” in the description, it’s going to be very difficult, if not impossible, to find.
How exactly do you add descriptions to your Pins? When you upload your Pin to your blog post you’ll want to add the description to the Alt Text of the image. And if you’re using an SEO plugin like Yoast SEO you’ll want to write a description for the meta description, because sometimes this shows up on Pinterest too.
Once the Pin is uploaded to your site you can use your Pin It button to save to your Pinterest boards.
Make the most of your Pinterest presence
In addition to creating pinnable Pins, you’ll want to repin fresh content to your boards daily or almost daily (a mixture of your content and others’). Consistency is key! Pinterest rewards those who pin great content and often.
Pinterest is an amazing platform with tons of potential for driving high-quality traffic to your site. (And it’s so much fun!) Use these tips on how to create the perfect Pin and you’ll be on your way to growing your business using Pinterest!
P.S. Get 7 steps to creating a consistent overall brand here.


Latest posts by Billie Gardner (see all)
- 7 Steps to Create The Perfect Pin - May 3, 2017
- How to Outsource Parts of Your Personal Life to Free Up Time for Business - January 19, 2016
leave a comment